Ipernity uploader
The Ipernity upload tab (keyboard shortcut Alt+I) allows you to upload your photographs to Ipernity, a friendly online photograph sharing club.
The Ipernity upload tab uses the Ipernity API but is not endorsed or certified by Ipernity.
Unlike some other uploaders, Photini uses the descriptive metadata you’ve created to set Ipernity’s title, description and keywords. This means you don’t have to retype all that information!
Note that the Ipernity upload tab is only enabled if you have installed some extra software packages (after activating your virtual environment, if you’re using one):
pip install photini[ipernity]
See installation for more detail.
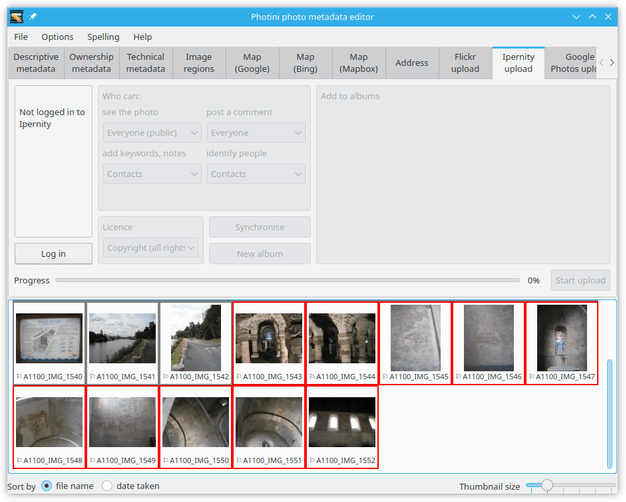
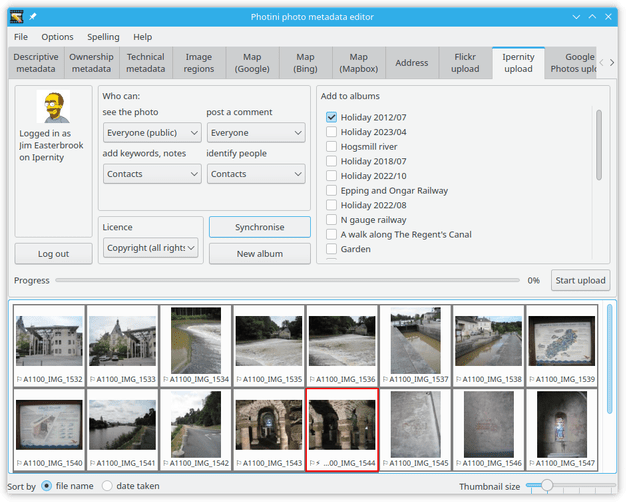
Initially most of the Ipernity uploader tab is disabled.
It’s only usable after you’ve authorised Photini to access your Ipernity account by clicking the Log in button.
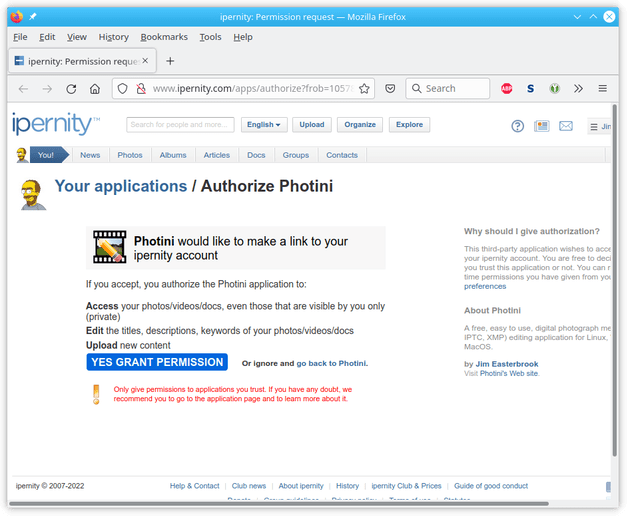
The first time you click Log in Photini connects your web browser to Ipernity, from where you can log in and give Photini permission to access Ipernity on your behalf.

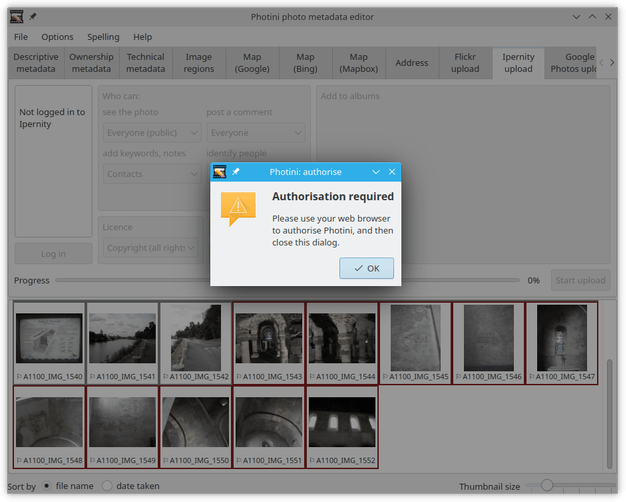
After authorising Photini close the web browser window or tab and return to the Photini window. You can now close the “Authorisation required” dialog.
If the authorisation is successful Photini displays your Ipernity user name and profile picture.
You should not need to redo this authorisation process unless you click the Log out button.
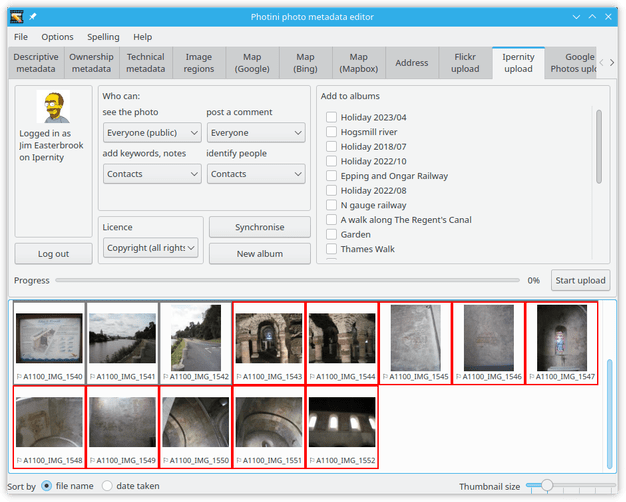
Your current Ipernity albums are shown on the right hand side of the Ipernity uploader tab.
You can add a new album with the New album button.
This opens a pop-up dialog as shown below.
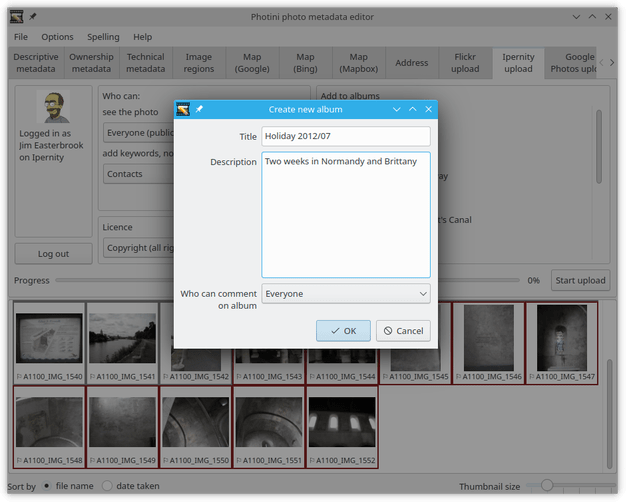
Type in the album details and click OK.
Note that the album will not be visible on Ipernity until you upload a photo to it.

To upload one or more photographs to Ipernity, select them in the image selector area, then choose which (if any) of your albums to add them to and set the permissions and licence, then click on the Start upload button.
The permissions, licence, and album membership apply to all the photographs in this upload. If you want some photographs to have different permissions, licence, or album membership you need to upload them as a separate batch.
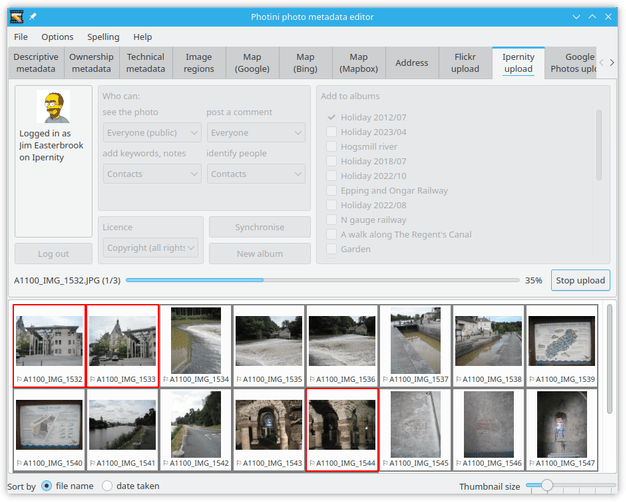
During uploading Photini displays a progress bar.
Uploading takes place in the background, so you can continue to use other tabs while the upload is in progress.
The upload can be stopped by clicking the Stop upload button.
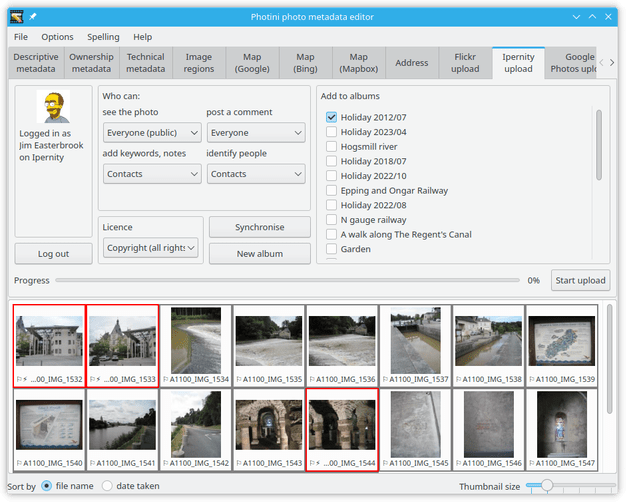
After uploading a photograph it is marked as having new metadata.
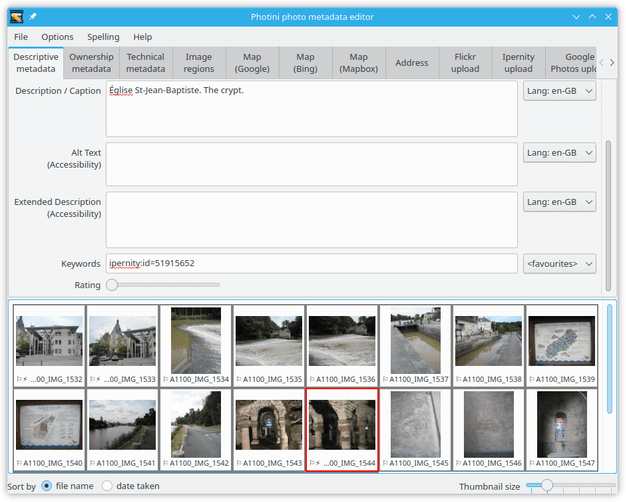
If you switch to the Descriptive metadata tab you can see there is a new keyword ipernity:id=<long-number>.
Photini uses this triple tag to store the Ipernity photo id so it can be used to synchronise metadata later on, as described below.
Synchronising local metadata to Ipernity
Sometimes you might change your photograph’s metadata on Ipernity and would like to copy those changes back to the image file on your computer.
Select the image(s) you would like to update and click the Synchronise button.
If an image does not have a ipernity:id keyword then Photini will try to find the photograph on Ipernity by matching the date and time it was taken.
If there is new metadata on Ipernity then it is merged into the image’s metadata.
You can see what changed with the image’s context menu View changes.
Added in version 2023.4.0: Ipernity “notes” attached to an image are shown on Photini’s Image regions tab.
Synchronising Ipernity metadata to local
If you change your image file metadata and would like to make the same changes on Ipernity you can select the image and click on the Start upload button.
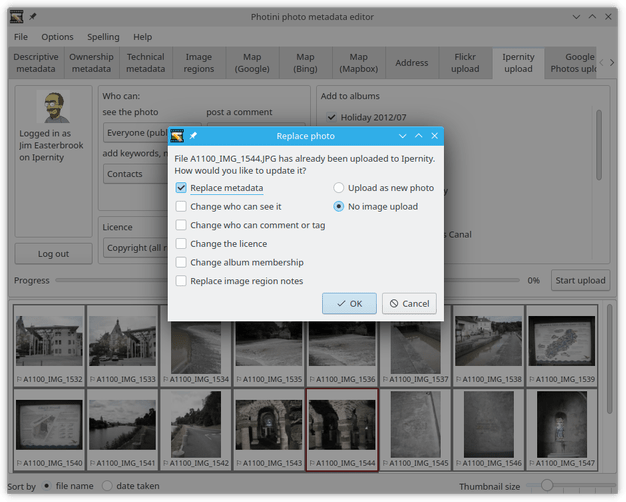
If you upload an image that already has a ipernity:id keyword then Photini allows you to change the photograph’s metadata instead of uploading a new photograph.
Comments or questions? Please subscribe to the Photini mailing list https://groups.google.com/forum/#!forum/photini and let us know.