Google Picasa uploader
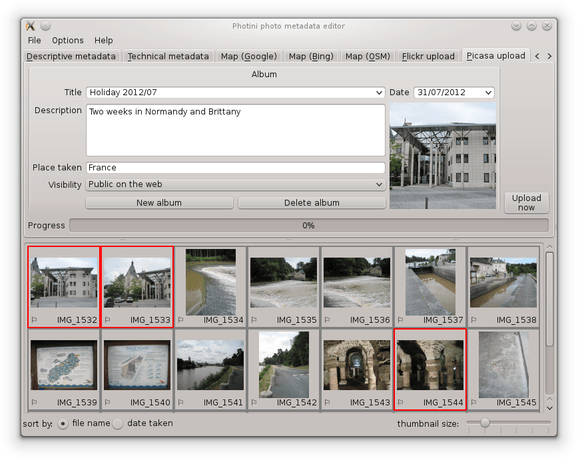
The Picasa upload tab (keyboard shortcut Alt+P) allows you to upload your photographs to Google Picasa.
Unlike some other Picasa uploaders, Photini uses the descriptive metadata you’ve created to set the photo’s title and tags. The description is added as a comment. This means you don’t have to retype all that information!
Note that the Picasa upload tab is only enabled if you have installed the relevant libraries. See installation for more detail.
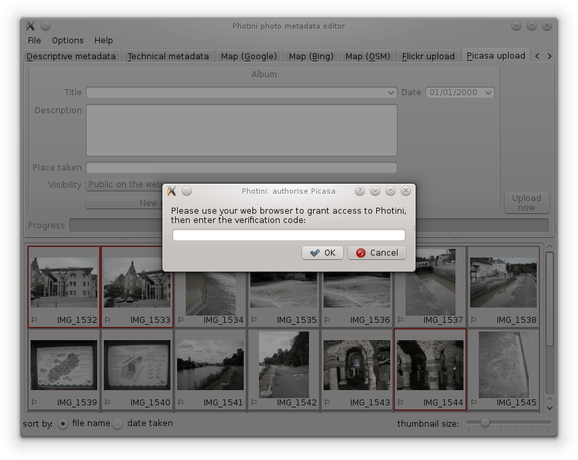
The first time you select Photini’s Picasa upload tab it will ask you to authorise Photini to access Picasa. It does this by connecting your web browser to Picasa, from where you can log in and give Photini permission to access Picasa on your behalf. You then copy a verification code from your browser to Photini, as shown below.
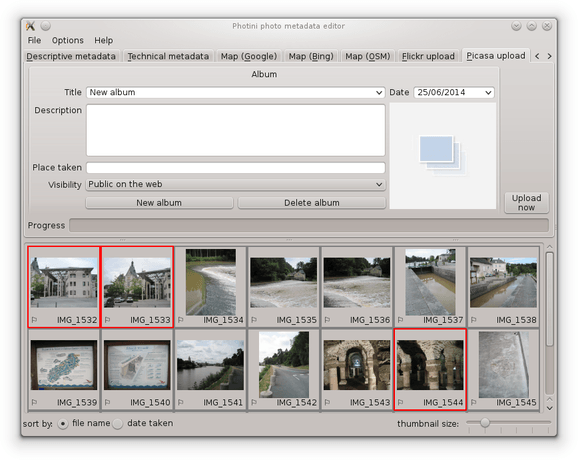
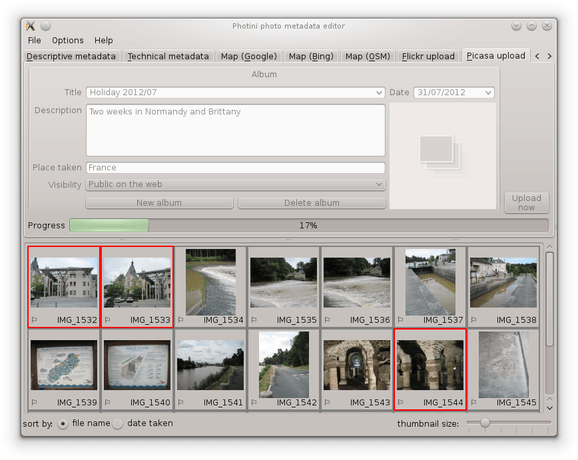
Every image uploaded to Picasa has to be stored in an «album». You can select one of your existing albums from the drop down list (next to the «title» label) or you can create a new album by clicking on the «new album» button.
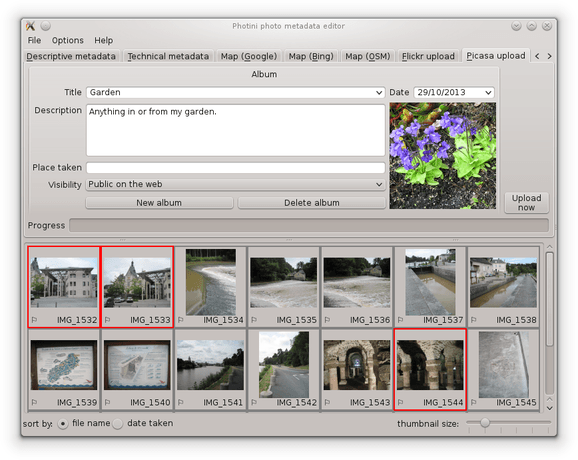
The title, description and other attributes of an album can be changed simply by editing the appropriate fields. (The album cover photograph cannot be changed due to a restriction in the API. You need to log into Picasa with a web browser to change it.)

To upload one or more photographs to Picasa, select them in the image selector area, then click on the «upload now» button. During uploading Photini displays a progress bar. Uploading takes place in the background, so you can continue to use other tabs while the upload is in progress.
The first image uploaded to a new album becomes the album’s cover image.