Image selector
When you start the Photini editor it displays a GUI (graphical user interface) as shown below. The exact appearance will depend on your operating system and window manager preferences, but the same functional elements should be present.
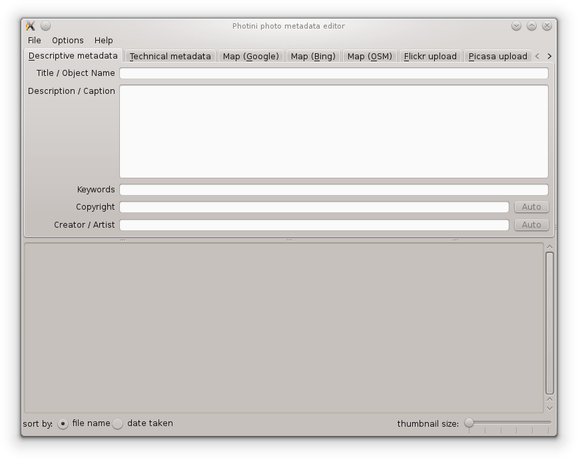
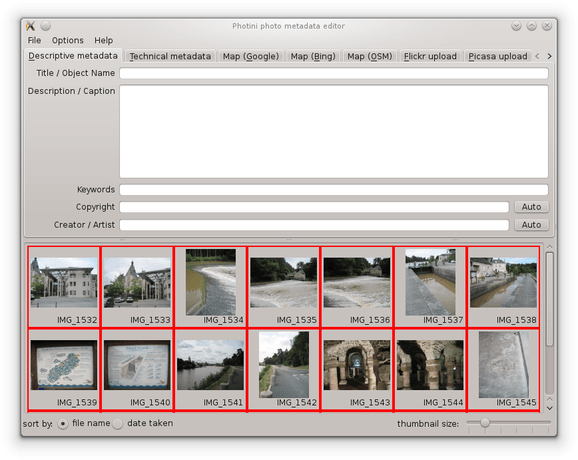
The Photini editor GUI has two main areas. The upper part has a set of tabs to select different functions. The lower part is an image selector that is common to all the tabs. In between the two is a divider that can be dragged with the mouse to change the relative sizes of the two parts. The overall size of the window can also be changed by dragging its edges or corners with the mouse.
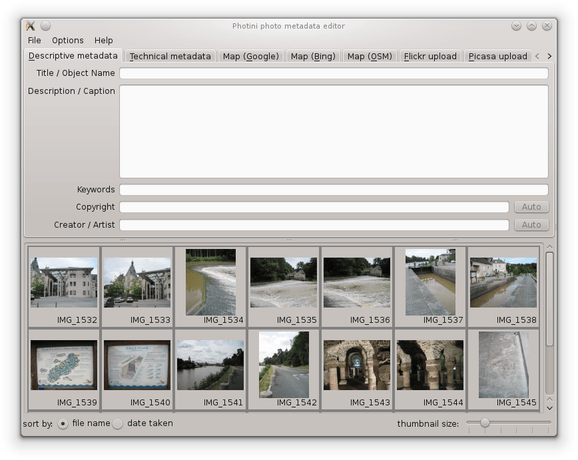
Now load some images using the File menu Open images item (or its keyboard shortcut Ctrl+O) or by «drag and drop» from a file manager window.
The loaded images are displayed as thumbnail images in the image selector part of the GUI.
Note that the thumbnail size can be changed with the slider control just beneath the thumbnail display area.
The images can also be sorted by name or date by clicking on the appropriate button.
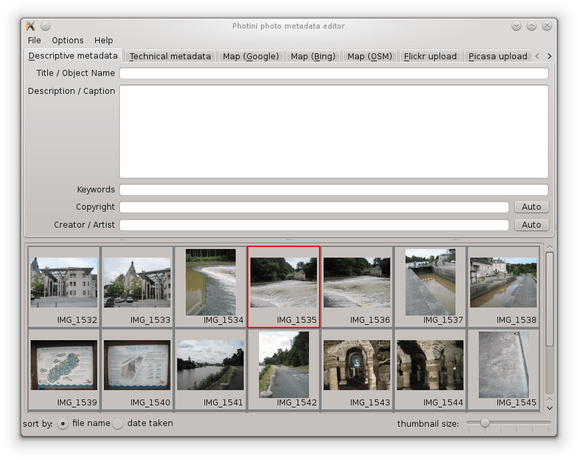
Clicking on any thumbnail selects that image. The selected image is highlighted by a red border. Double clicking on a thumbnail should display the full size image, using your default image viewing application.
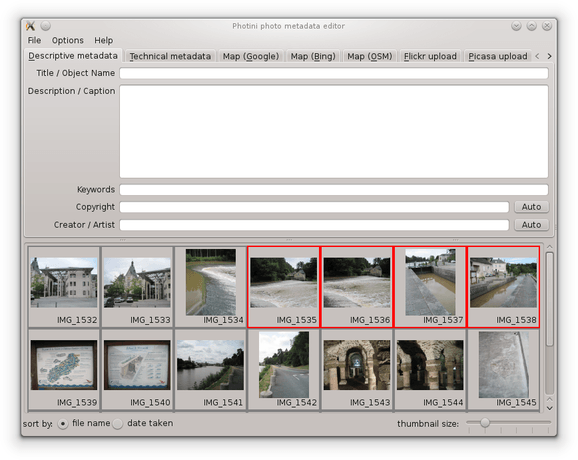
Multiple images can be selected by holding down the “shift” key while clicking on a second image.

To select multiple images that are not adjacent, hold down the “control” key while clicking on the images.
The keyboard shortcut Ctrl+A selects all the loaded images.