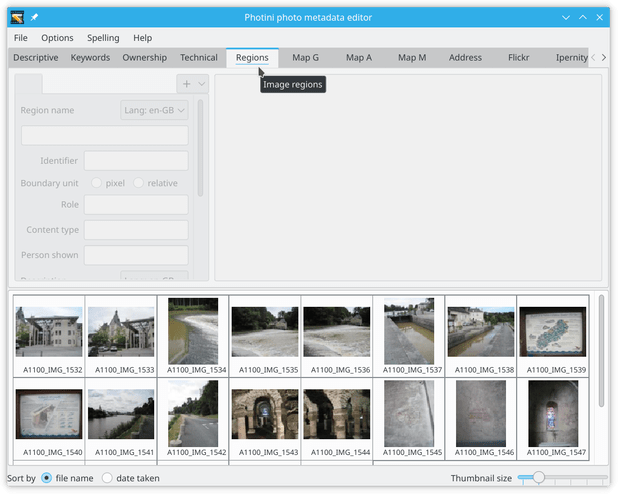
Image regions
The Image regions tab (keyboard shortcut Alt+R) allows you to select part of a picture and label it with metadata.
This can be useful to identify people in a photograph, or to mark which part of the photograph should remain visible if the image is cropped.
The IPTC User Guide discusses possible uses of image regions in more detail.
Photini stores image regions in IPTC, MWG (Metadata Working Group), and MP (Microsoft Photo 1.2 Schema) formats. (All are stored in the XMP metadata.) The MWG format is older and less capable than the IPTC format, for example it cannot store polygonal regions, but it may be compatible with more software. The MP format can only store rectangular regions that identify a person.
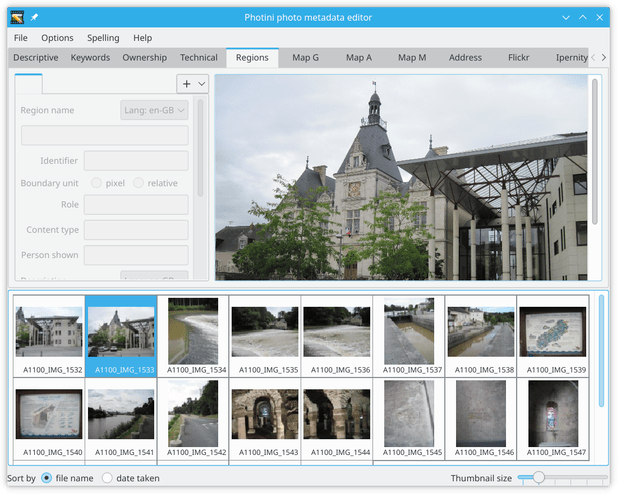
The user interface is disabled until one image file is selected.
The image is shown on the right hand side in a scrollable area. On the left are one or more tabs showing metadata for each image region.
Note
You should avoid using “raw” image format photographs as these are often slightly larger than the intended display size. This could lead to errors in the size and position of image regions. Photini attempts to use the correct area of raw photographs, but this cannot be guaranteed to work in all cases.

To create a new region, click on the + button and select a region shape.
(To delete a region, right-click on its tab and select Delete region.)
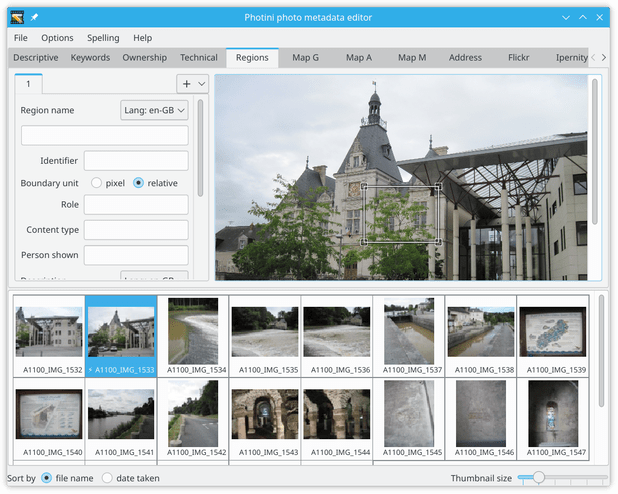
The new region (a rectangle in this example) is initially placed at the centre of the image.

The small squares at each corner of the rectangle can be dragged to change the size and shape. The entire region can be dragged by clicking within it.
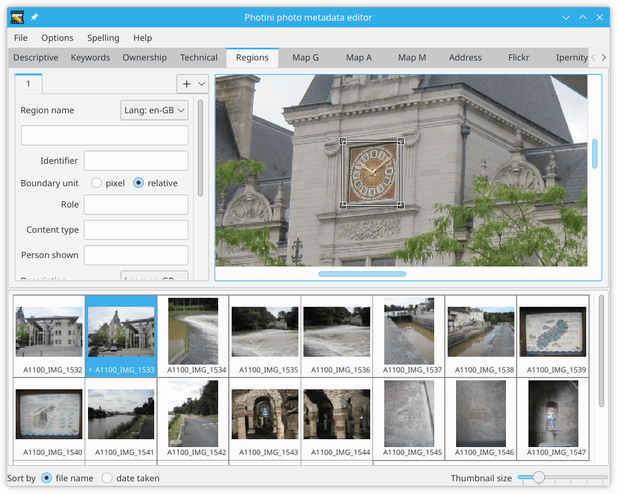
Positioning the region is made easier if you zoom in by holding down the Ctrl key while scrolling with the mouse scroll wheel.
(The zoom can also be adjusted with Ctrl-Plus and Ctrl-Minus key combinations.)
After creating a region you can add metadata about the it.
The Region name and Identifier fields are unique labels for the region, but I haven’t found a use for them.
The Boundary unit specifies whether the vertex positions are stored as absolute pixel values or relative proportions of the image width and height.
Don’t use pixel values unless you have some other software that requires them.
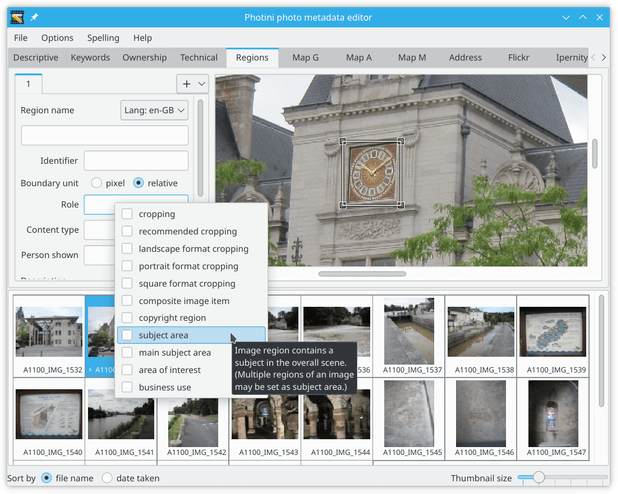
The most important metadata for a region is probably its “role”.
This is chosen from a “controlled vocabulary” defined by the IPTC.
Photini shows the IPTC names and definitions (as “tooltips”) in a drop down menu when you click on the Role entry.
You can select one or more roles from the list.
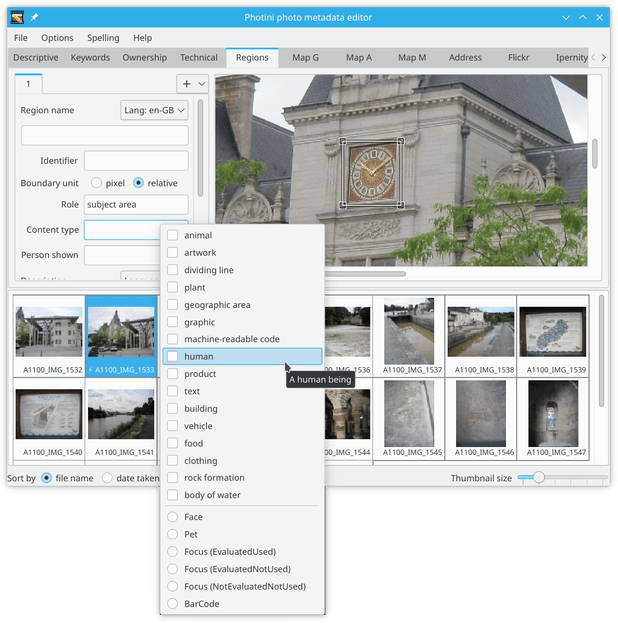
The content type is another controlled vocabulary that allows you to say what’s special about the selected area.
The upper part shows the IPTC controlled vocabulary.
The most useful of these is probably human.
The lower part shows MWG “types”.
These are primarily intended for use by automatic systems such as face detectors and camera autofocus.
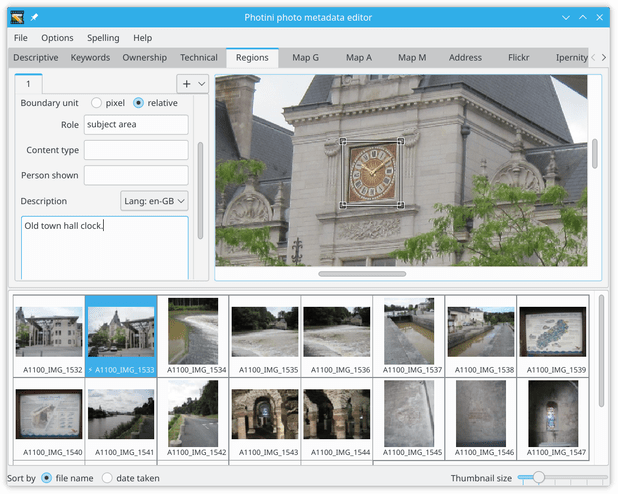
The IPTC and MWG specifications allow any other metadata to be attached to a region.
Photini includes Person shown and Description, which I think are most likely to be useful.
Names in the Person shown box are also added to the Descriptive metadata tab’s Person(s) shown box.
Rectangular subject area regions with a description or person’s name attached are used by the Flickr uploader and Ipernity uploader to create “notes”. Please let me know if there is any other metadata you would like to be added.
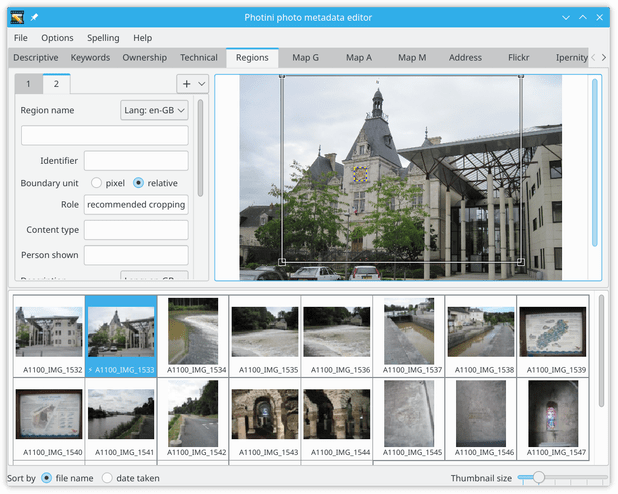
It can be useful to set cropping regions for an image. Many social media web sites crop images, typically to square or 16:9 aspect ratio landscape. This often causes problems such as decapitated bodies.
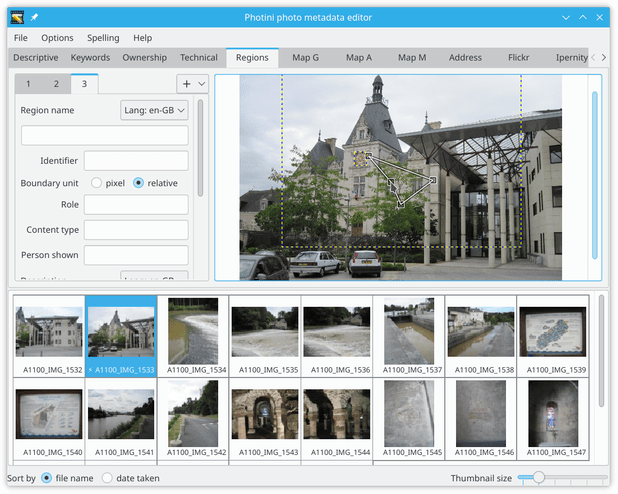
Note that the unselected region is shown with a blue & yellow dashed outline. You can select an unselected region by clicking on it.
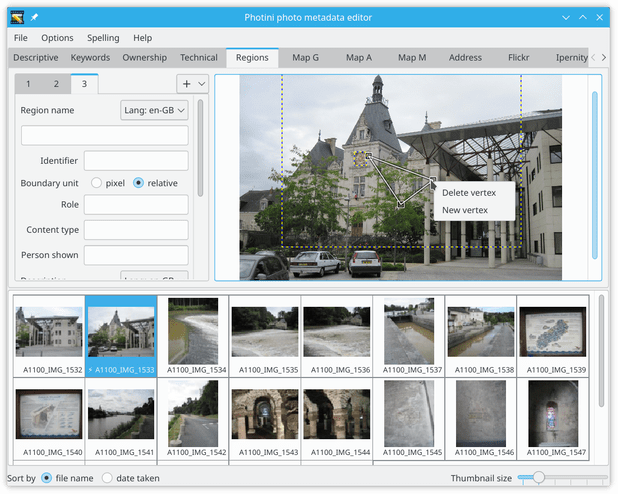
The polygon region is initially a triangle shape. Right-clicking on one of its vertices allows a vertex to be added or deleted. Note that polygon regions are not saved in MWG metadata.
A vertex can also be added by right-clicking anywhere within the polygon.

Vertices can be added to make shapes of arbitrary complexity. Is this useful for anything?
Comments or questions? Please subscribe to the Photini mailing list https://groups.google.com/forum/#!forum/photini and let us know.